Follow Me On Social Media!
Stained Glass Cookies: A Sweet Way to Brighten Your Day
Introduction to Stained Glass Cookies
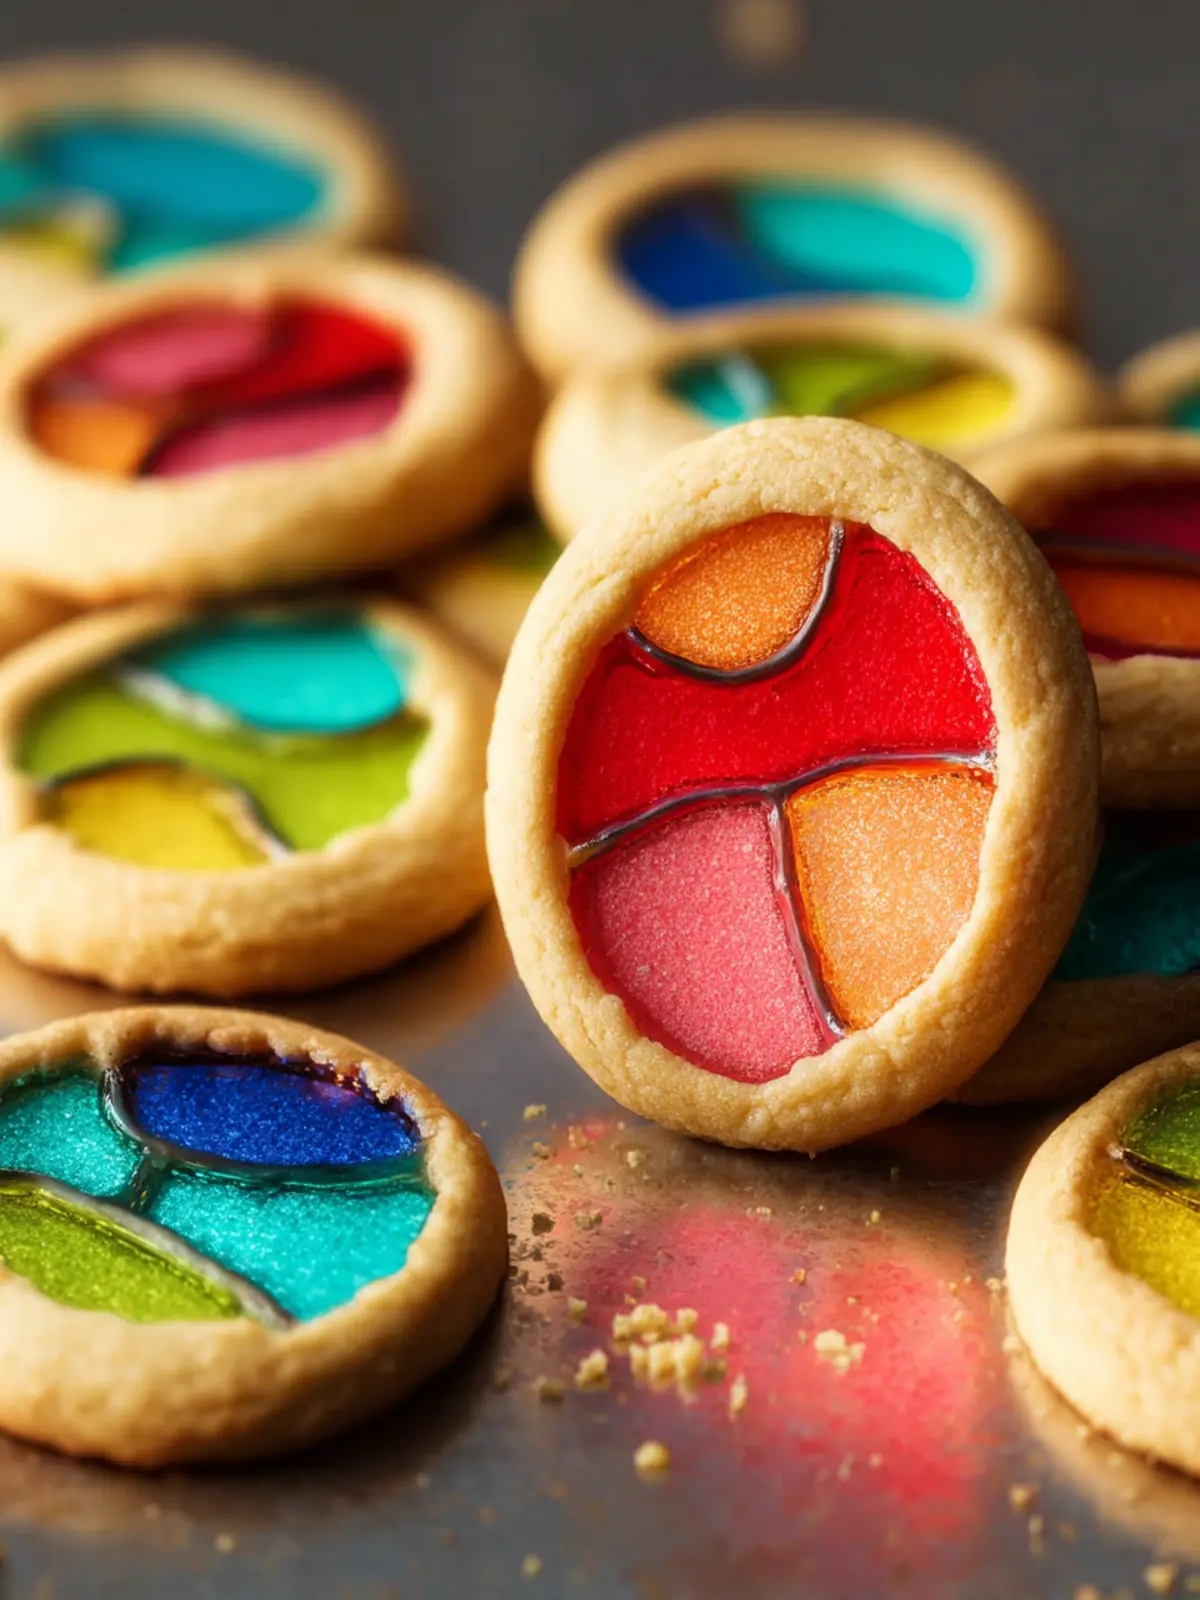
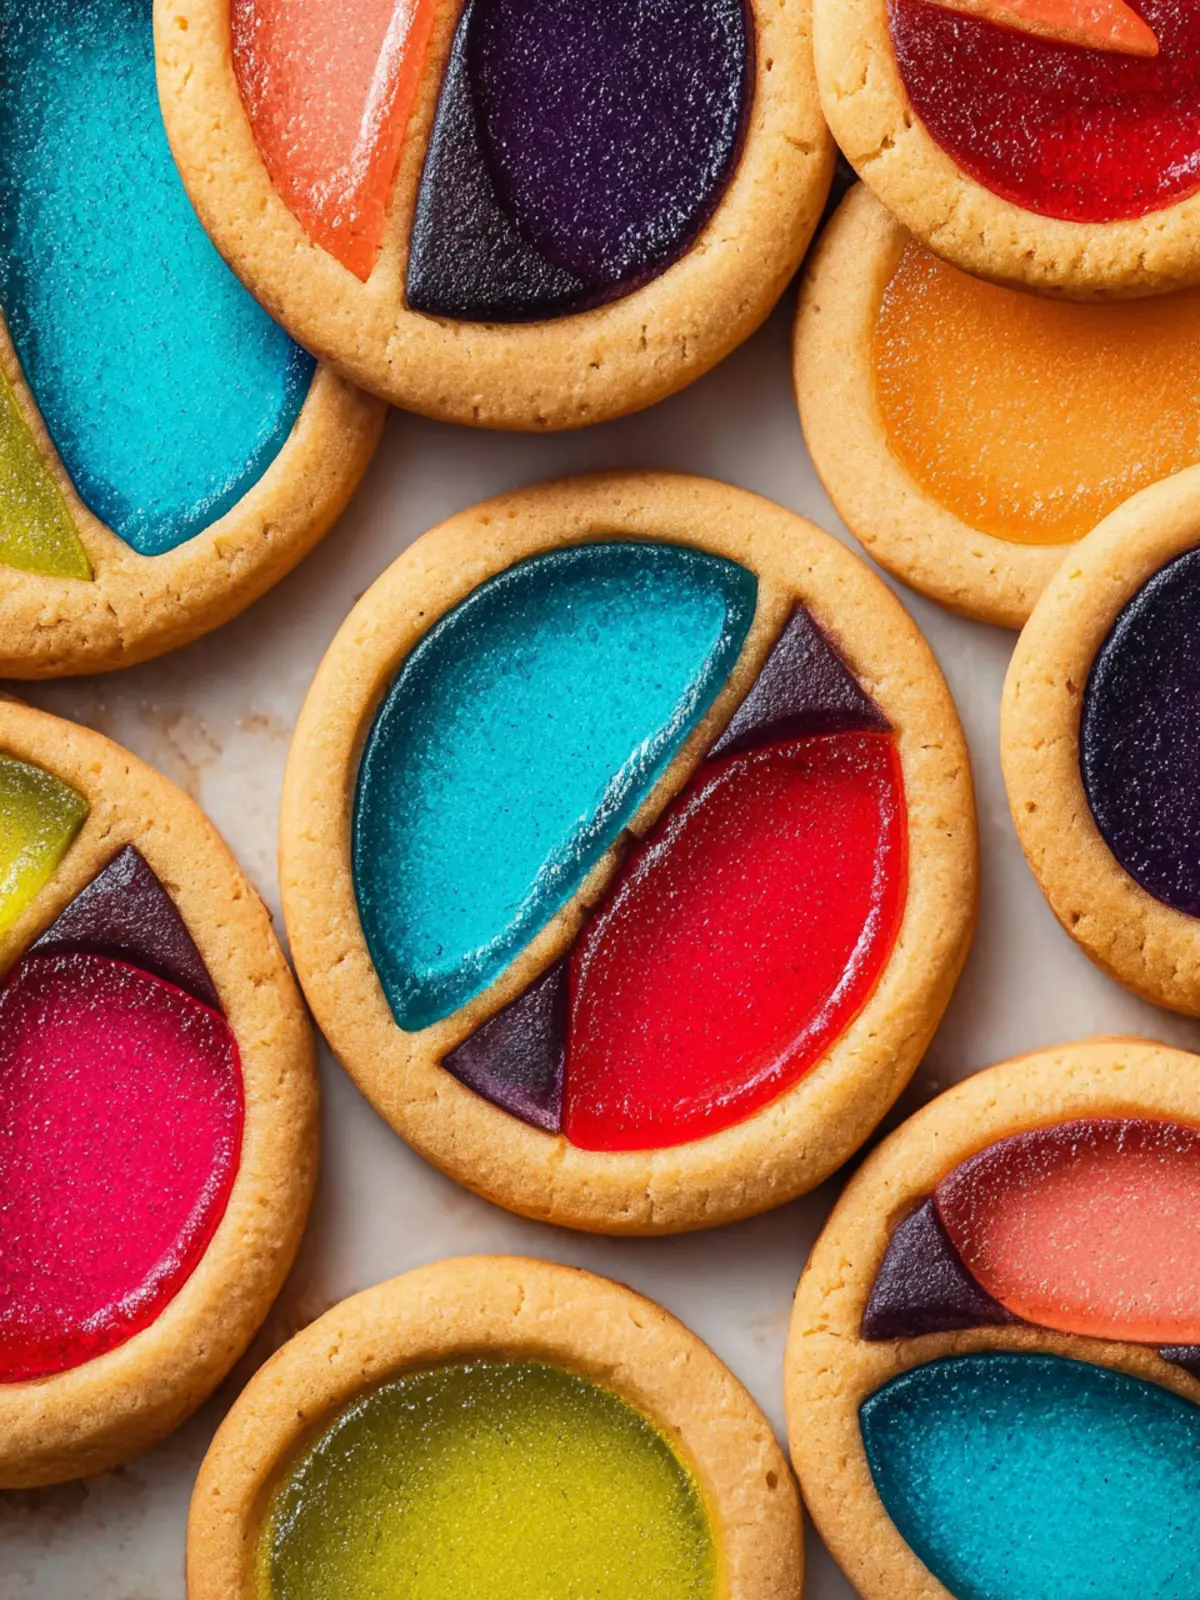
Imagine pulling a batch of stained glass cookies out of the oven, their delicate, jewel-like colors glistening under the kitchen lights. These delightful treats are not just visually appealing; they bring a sense of creativity and joy to any baking session. The moment you cut out shapes and watch the vibrant candies melt into colorful windows, you know you’re about to create something truly special.
So, what makes stained glass cookies stand apart from traditional holiday cookies? For starters, they combine the magic of classic sugar cookies with the fun of candy art. You can customize the colors and shapes for various occasions, making them perfect for holiday gatherings, birthday parties, or even just a casual weekend bake-off with friends. Additionally, these cookies encourage creativity, as you can use different colored candies to create stunning designs and patterns.
When you take a bite, you’re met with a satisfying crunch from the sugar cookie base, followed by the sweet, chewy texture of the melted candy. The interplay between the cookie’s buttery goodness and the delicious candy flavors makes for a treat that’ll leave your taste buds dancing.
Moreover, making stained glass cookies is an experience that brings friends and family together. It’s an opportunity to gather in the kitchen, enjoy laughter, and bond over the art of baking. Whether you are molding dough into shapes or simply savoring the colors, every step (and cookie) tells a story.
So, are you ready to embark on a fun and delicious adventure? Grab your rolling pin, pop on your favorite playlist, and let’s dive into the world of stained glass cookies. Your friends and family will thank you, and who knows? You might even spark a new holiday tradition!
What Makes Stained Glass Cookies So Special?
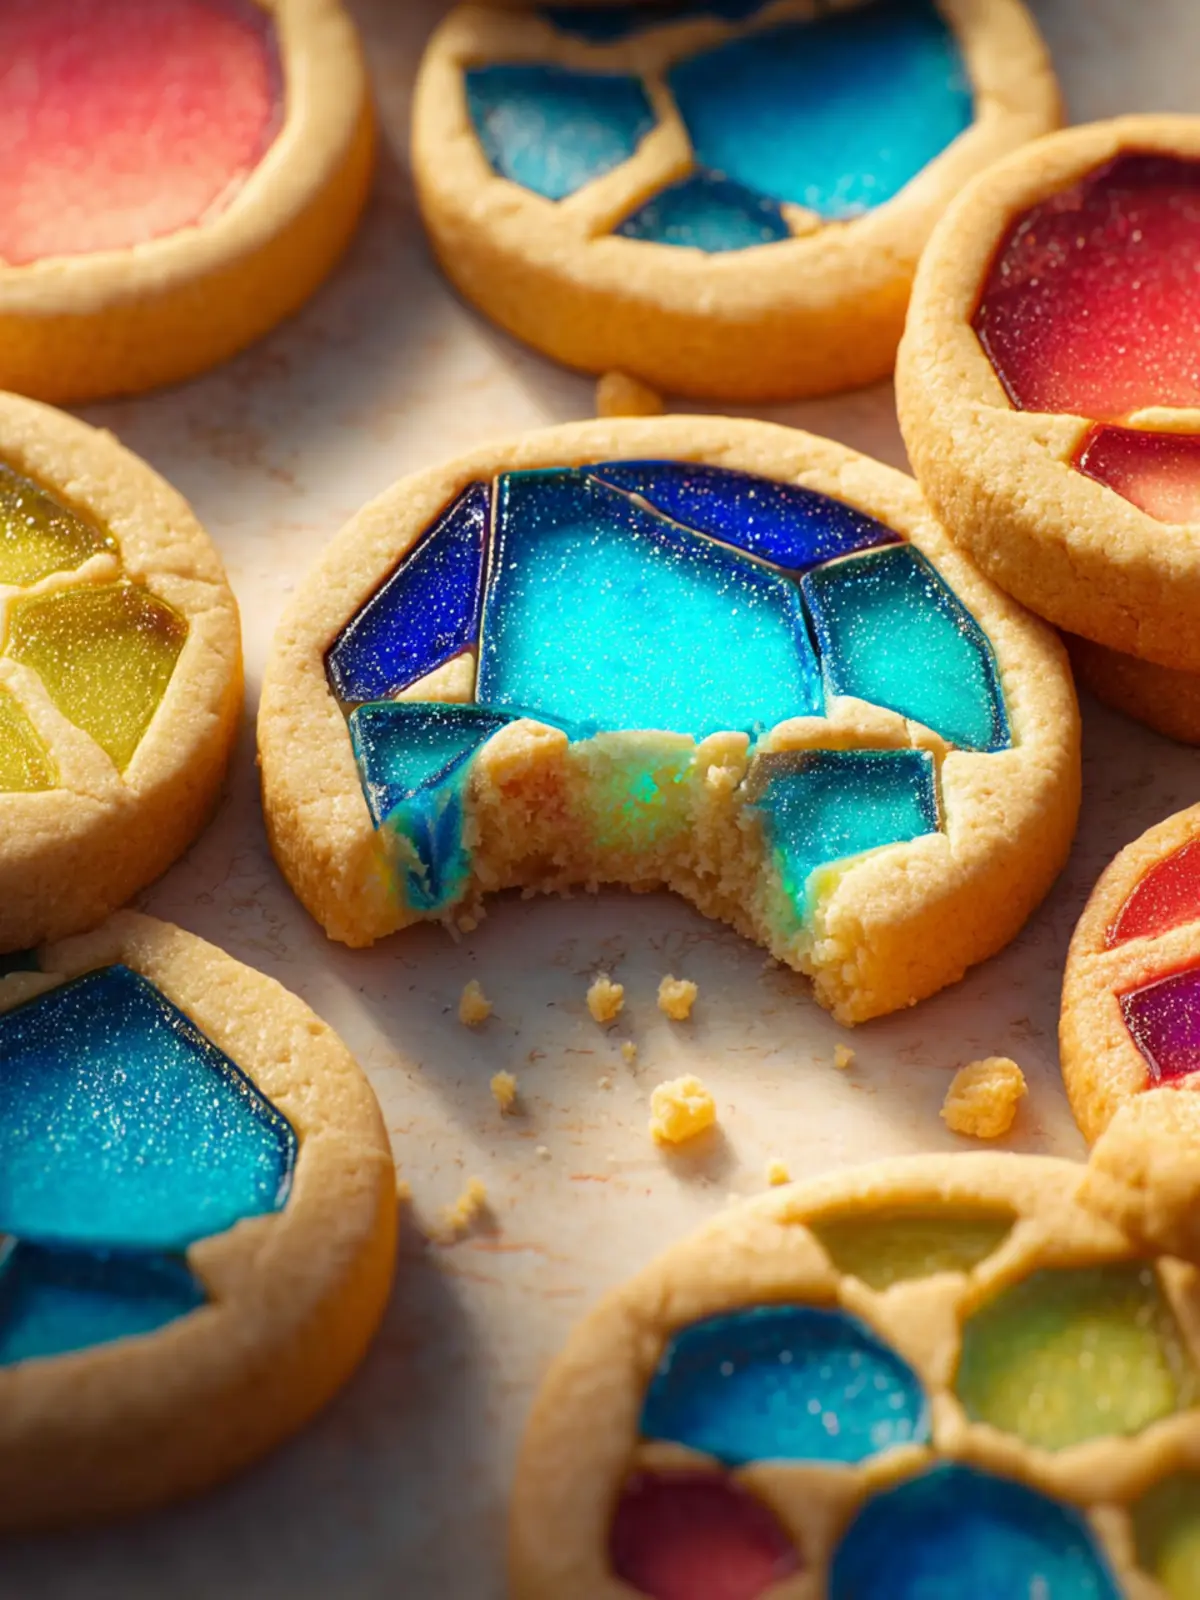
- Visual Appeal: The vibrant colors of melted candies create a stunning mosaic.
- Customizable: You can tailor the colors and shapes for any occasion.
- Delicious Flavor Combination: A playful blend of crunchy cookie and chewy candy.
- Fun for Everyone: Great for family gatherings or a cozy baking day with friends.
Get ready to create something memorable with these captivating cookies!
Key Ingredients for Stained Glass Cookies
Creating stunning stained glass cookies requires a careful selection of ingredients that blend beautifully to create a work of art. Here’s a closer look at what you’ll need:
Butter
Butter is a key player in these cookies, providing that rich, creamy flavor. I prefer unsalted butter because it allows for better control over the overall saltiness of the dough. Make sure it’s softened for easy mixing!
Sugar
Granulated sugar helps to add sweetness and contributes to the crisp texture of your cookies. A little bit of brown sugar can be added too for a hint of chewiness—you know, just to keep things interesting.
Flour
All-purpose flour serves as the backbone of the cookie dough. Its versatility makes it perfect for achieving that desirable balance between structure and tenderness.
Eggs
Using one large egg will bind everything together and provide moisture. Beating it well ensures a uniform mixture and contributes to that lovely rise.
Gelatin Candies
The true magic of stained glass cookies comes from the colorful gelatin candies. I love using hard candies like Jolly Ranchers, crushed into bits. They melt beautifully and create those stunning stained glass effects when cooled.
Vanilla Extract
A splash of vanilla extract adds depth and a comforting aroma to your cookies. It’s a small but essential touch that elevates the overall flavor!
With these key ingredients, you’re well on your way to baking the most vibrant and delicious stained glass cookies. Happy baking!
Why You’ll Love Stained Glass Cookies
Imagine a holiday gathering brightened by the glow of stained glass cookies, where vibrant colors and delightful sweetness come together to create a feast for the eyes as well as the palate. These cookies are more than just a treat; they evoke a sense of nostalgia and joy, reminiscent of art projects from childhood days.
Stained glass cookies are not just visually stunning; they taste incredible too. The base is a classic buttery sugar cookie that’s easy to whip up, and the sweet, melted candy creates a unique and delicious center. What makes these cookies truly irresistible, however, is the process of making them. Rolling dough, cutting out festive shapes, and watching the colorful candy melt give a sense of satisfaction and creativity. Plus, they make fantastic gifts! Package them up in a festive box, and you have the ideal present for friends and family.
They’re versatile, perfect for various occasions, from Christmas to birthdays. You can use any color of hard candy, so feel free to experiment with flavor combinations. Each batch can be unique! So the next time you’re in the kitchen, consider making stained glass cookies—they’ll surely become a cherished tradition in your home.
Variations on Stained Glass Cookies
Stained glass cookies are not only a delight to the eyes but can also be a canvas for your creativity in the kitchen. After perfecting the classic recipe, you might find yourself wondering how to give this delightful treat a twist. Here are some fun variations to explore that bring your stained glass cookies to life.
Flavor Twists
- Citrus Burst: Add some zest! Lemon, orange, or lime zest not only brightens the flavor but also adds a vibrant aroma that enhances your cookie experience.
- Chocolate Delight: Why not incorporate cocoa powder into your dough? This rich addition pairs perfectly with colorful candies, creating a stunning contrast.
Festive Themes
- Holiday Spice: For a seasonal touch, mix in gingerbread spices like cinnamon, nutmeg, or allspice, transforming your cookies into a festive favorite perfect for any holiday gathering.
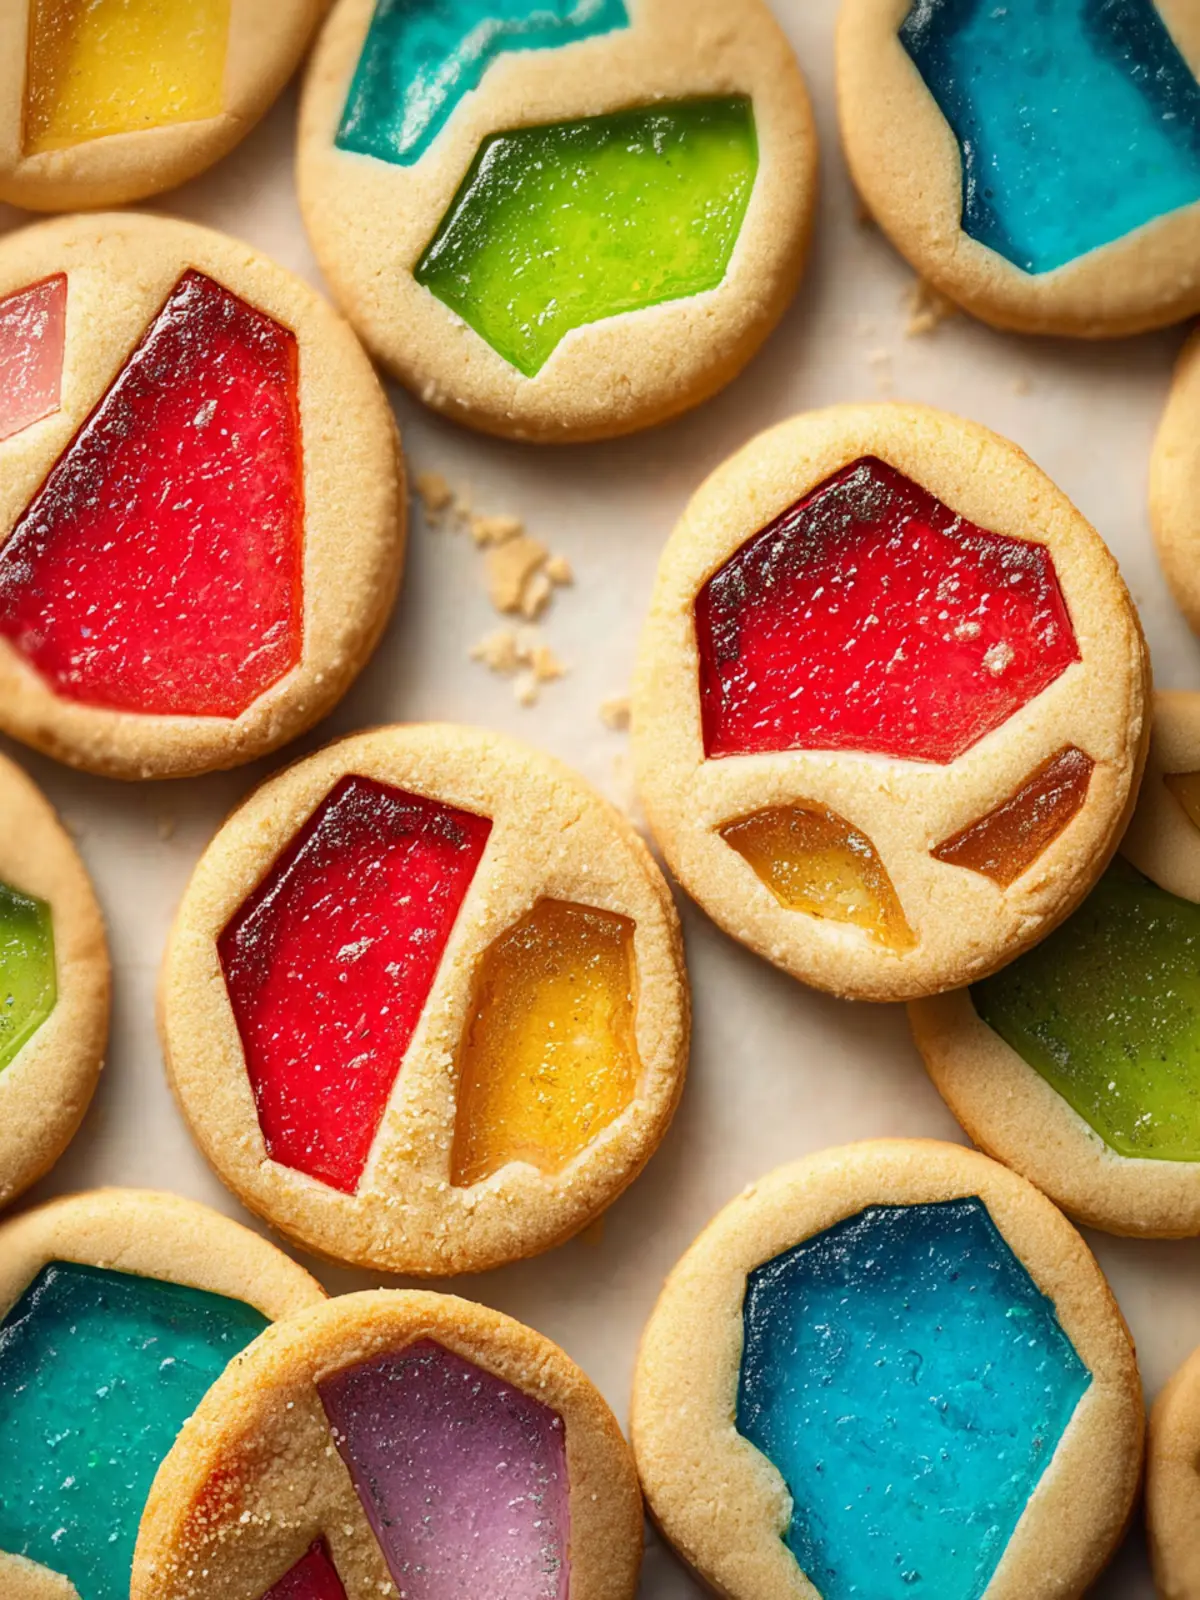
- Rainbow Colors: Use different types of hard candies in various colors to create a rainbow effect, making these cookies not only delicious but a feast for the eyes at parties or family celebrations.
Texture Varieties
- Nutty Crunch: Fold in finely chopped nuts like almonds or pecans into the dough for an extra layer of texture and flavor.
- Dried Fruits: Enhance the sweetness and chewiness by adding dried fruits like cranberries or apricots, giving your cookies a delightful twist.
These variations invite you to play with your recipe while keeping the spirit of stained glass cookies alive, making each batch uniquely yours. Enjoy experimenting and sharing these beautiful creations!
Cooking Tips and Notes for Stained Glass Cookies
Baking stained glass cookies can be a delightful creative adventure, transforming ordinary cookie dough into whimsical treats. Here are some useful tips to help you master this fun recipe.
Choosing the Right Ingredients
-
Sugar: Granulated sugar is your go-to here, providing the perfect sweetness without altering the texture too much. If you’re feeling adventurous, try swapping in some brown sugar for a subtle, rich flavor.
-
Butter: Always opt for unsalted butter to control the saltiness of your cookies. Bringing it to room temperature allows for better creaming with sugar, leading to that desirable soft texture.
-
Gelatin Candy: Using clear hard candies like Jolly Ranchers or Life Savers is key. Crush them into small pieces for the best melting effect. Skip the colored candies if you’re aiming for a clean stained glass look.
Rolling and Shaping
-
Chilling the Dough: After preparing the cookie dough, remember to chill it for at least an hour. This step is essential as it prevents cookies from spreading too much while baking, ensuring your shapes maintain their integrity.
-
Cutting Shapes: Use festive cookie cutters, but make sure to create a small shape in the center for the “glass” part. Your imagination can run wild here—stars, hearts, and trees make for great designs!
Baking Process
- Watch Closely: Given that the candies melt, closely monitor your cookies while baking to avoid burning. Each oven is different, but generally around 8-10 minutes should do the trick.
By following these stained glass cookies tips, you will impress both yourself and your friends with beautiful, delicious creations! Happy baking!
Serving Suggestions for Stained Glass Cookies
Stained glass cookies are not just a treat for the taste buds; they’re also a feast for the eyes. Their vibrant hues make them perfect for a variety of occasions, adding a unique touch to your gatherings. Consider serving these delightful cookies at:
-
Festive Events: Whether it’s a holiday party or a birthday celebration, stained glass cookies serve as eye-catching decorations on dessert tables. Their colorful centers can tie in beautifully with seasonal themes.
-
Tea Parties or Brunches: Pair these cookies with a selection of teas or brunch cocktails. The crunchy texture and sweet flavors make them a delightful companion to herbal infusions or mimosas.
-
Gift Giving: Wrap these cookies in clear cellophane bags tied with ribbons as thoughtful gifts. Perfect for teachers, neighbors, or just as a kind gesture, they bring a personal touch to gifting.
-
Creative Activity: Host a cookie-decorating night with friends. Set up a station with various cookie flavors and toppings so everyone can create their own unique stained glass masterpiece.
These suggestions transform your stained glass cookies into more than just a snack, making them a centerpiece at your next gathering.
Time Breakdown for Stained Glass Cookies
Creating stained glass cookies allows you to unleash your creativity and impress your friends with beautiful, kaleidoscopic treats. However, it’s essential to plan your time wisely to make the process enjoyable and efficient.
Preparation Time
For these stunning cookies, allocate about 20 minutes for preparation. This includes mixing your ingredients, rolling out the dough, and cutting out the shapes before placing those colorful candies in the centers.
Baking Time
The baking process takes approximately 10 to 12 minutes, depending on your oven. Keep an eye on them — you want those edges to be golden without losing the bright colors of your stained glass.
Total Time
In total, you should set aside around 35 to 40 minutes to create these delightful cookies from start to finish. Once you’ve mastered the timing, you’ll be whipping up stained glass cookies in no time, perfect for any occasion or a cozy night in!
Nutritional Facts for Stained Glass Cookies
When diving into stained glass cookies, one can’t help but be mesmerized by their vibrant hues and delightful crunch. But what do these whimsical treats bring to the table in terms of nutrition? Let’s break it down!
Calories
A serving of stained glass cookies typically contains around 120 calories. This makes them a fun treat while still keeping your calorie count in check. These cookies are perfect for satisfying your sweet tooth without going overboard.
Protein
You’ll find approximately 1.5 grams of protein in each cookie. While they aren’t a protein powerhouse, the inclusion of eggs and butter provides a small boost that can complement your daily intake.
Sodium
Each stained glass cookie has about 50 mg of sodium. This is a reasonable amount, ensuring that you can enjoy these colorful delights without worrying about excess salt in your diet.
Enjoy these cookies in moderation, and embrace the joy they bring to your baking adventures!
FAQs About Stained Glass Cookies
Can I use different types of candies for these cookies?
Absolutely! The beauty of stained glass cookies lies in the colorful candy windows that add both taste and visual appeal. You can experiment with various sweets like Jolly Ranchers, Life Savers, or any hard candy that melts well. Just be sure to crush them into small pieces for the best results. Each type of candy will impart its unique flavor, making every batch a delightful surprise!
What if my dough feels too sticky?
If your dough is too sticky, don’t worry—this can happen! Try chilling the dough in the refrigerator for about 30 minutes. Chilling firms up the dough, making it easier to roll out and cut into shapes. Alternatively, you can dust your working surface and rolling pin with a little flour to manage the stickiness. Just remember, adding too much flour directly to the dough can alter the texture, so use it sparingly.
Can I freeze Stained Glass Cookies?
Yes, you can definitely freeze your stained glass cookies! After you’ve baked and cooled them, place the cookies in an airtight container with a layer of parchment paper between layers to prevent sticking. They can be stored in the freezer for up to three months. When you’re ready to enjoy them, just let them thaw at room temperature—no need to refrost. This is a great way to make ahead for holidays or special occasions!
Conclusion on Stained Glass Cookies
In crafting these stained glass cookies, you’re not just baking; you’re creating a festive masterpiece that captures the essence of celebration. These cookies dazzle with colorful, sweet centers, delighting both children and adults alike. Remember, the key to success lies in rolling the dough evenly and using a variety of candies for vibrant colors. Whether you serve them at a holiday gathering or simply as a treat for yourself, these cookies are sure to impress. Share them with loved ones, and watch the delight spread—these stained glass cookies are more than a snack; they’re a way to spark joy and connection in your culinary adventures.
Print
Jolly Rancher Cookies
- Total Time: 25 minutes
- Yield: 36 cookies 1x
Description
Delicious cookies with a fun Jolly Rancher surprise in the center!
Ingredients
Scale
- 1 cup unsalted butter (softened)
- 1 cup granulated sugar
- 1 teaspoon pure vanilla extract
- 1 large egg (at room temperature)
- 3 ½ cups all-purpose flour
- 1 ½ teaspoons baking powder
- ½ teaspoon salt
- 36 translucent hard candies (unwrapped, I used Jolly Ranchers)
Instructions
- Preheat the oven to 350°F (180°C), or 160°C fan oven. Prepare a cookie sheet by lining it with parchment paper or silicone mat and set aside.
- In the bowl of a stand mixer with a paddle attachment or a mixing bowl with a hand mixer, cream the butter with the sugar until smooth, light in color and creamy (2-3 minutes).
- Add vanilla and egg and mix again until the egg is incorporated but don’t over whip.
- Add in the flour, baking powder, and salt and mix again until just combined. Scrape the sides with a spatula so no dry flour is left.
- The cookie dough should pull away from the sides of the bowl (if it doesn’t, add up to ½ cup of additional flour).
- Divide the dough into 4 portions, and roll out each using a rolling pin into ¼ inch thickness.
- Cut out shapes using a larger cookie cutter for the outer shape and a smaller cookie cutter for the inner shape. Then with the help of an offset spatula, transfer to the cookie sheet.
- Place one unwrapped hard candy in the empty center of each cookie. Avoid having the candy touch the edges of the cookie.
- Bake for 8 minutes (one sheet at a time), then check the cookies – if the candies are bubbling or close to bubbling, remove the cookies from the oven for 2 minutes, then return for an additional 2 minutes or until the cookies are set.
- When cookies are set, remove from the oven and allow to cool on the cookie sheet completely.
Notes
- Store in an airtight container for up to 1 week.
- Prep Time: 15 minutes
- Cook Time: 10 minutes
- Category: Dessert
- Method: Baking
- Cuisine: American
Nutrition
- Serving Size: 1 cookie
- Calories: 180
- Sugar: 12g
- Sodium: 150mg
- Fat: 8g
- Saturated Fat: 5g
- Unsaturated Fat: 2g
- Trans Fat: 0g
- Carbohydrates: 26g
- Fiber: 0g
- Protein: 2g
- Cholesterol: 30mg